ShopOne Sales Pop is an application that displays popup notifications about recent orders, the number of customers adding products to their carts, remaining stock, the number of online customers, order summaries, and other announcements.
Our application helps customers display important notifications to create a sense of urgency and encourage buyers to make quick purchasing decisions.
With 6 popular notification types, you can choose the ones that best suit your website's strengths to impress customers. For example, if you don't have many orders yet, enable the "products added to cart" feature and the number of online customers to let your customers know that your store is a potential store with many active customers.
Add To Cart Function
1. Create A New Campaign
Go to the ShopOne Sales Popup app
Select “Add to cart” from the campaign types
Click “Create”
Enter a campaign name
Note: The campaign name is only visible to you and must be unique.
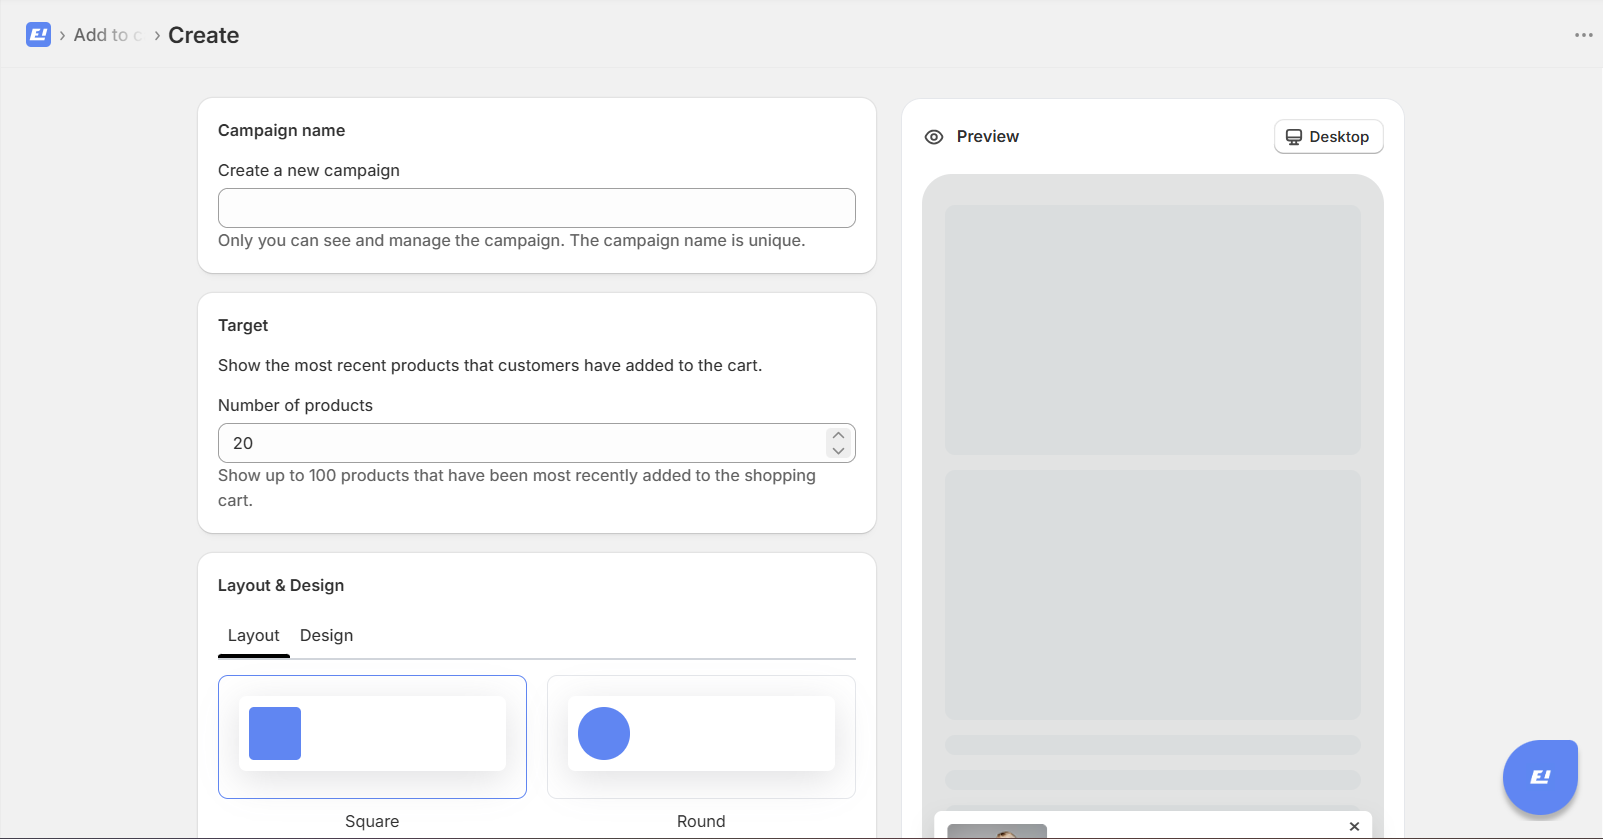
2. Set Target (Add to Cart Data)
This section controls how many recent add-to-cart activities will be shown.
Number of products
Enter the number of recently added products to display (e.g. 20)
The system will automatically sync data from your Shopify store and show up to 100 recent add-to-cart actions.
Recommendation:
Use a number between 10 and 30 to keep notifications natural and effective.
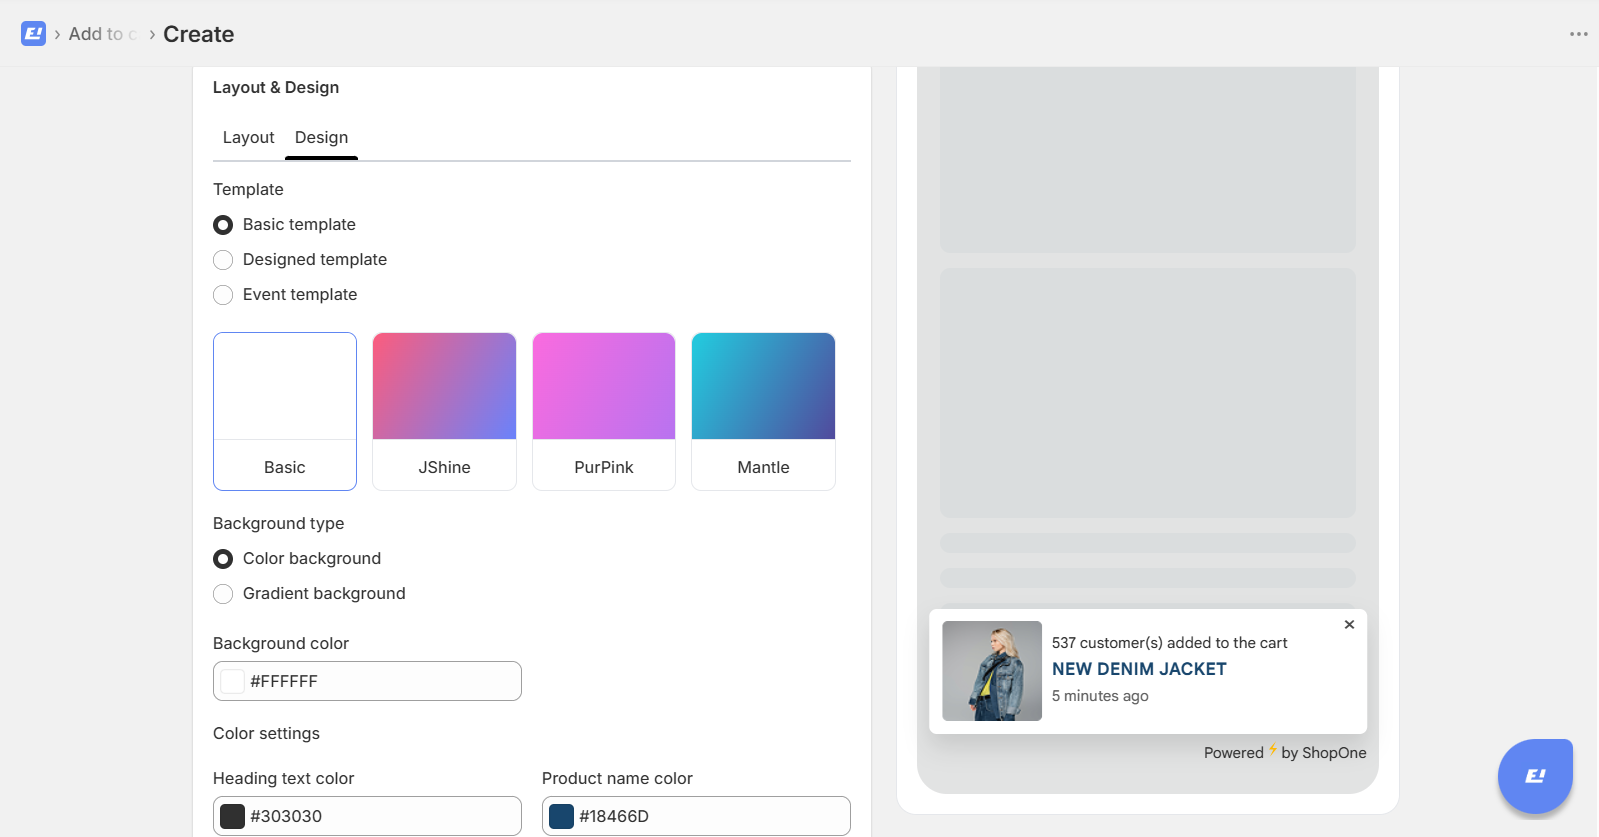
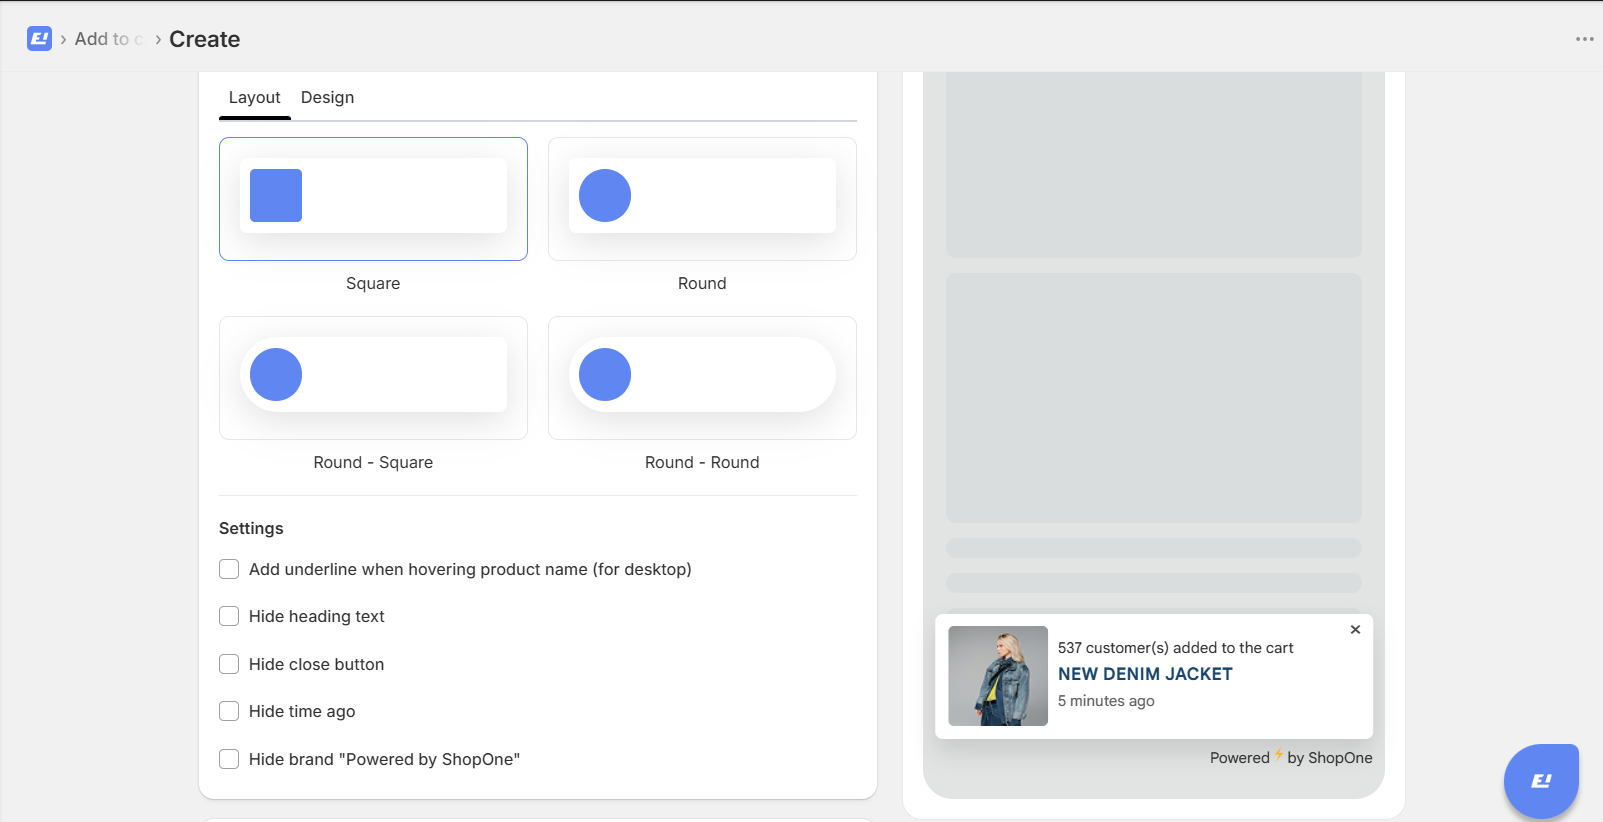
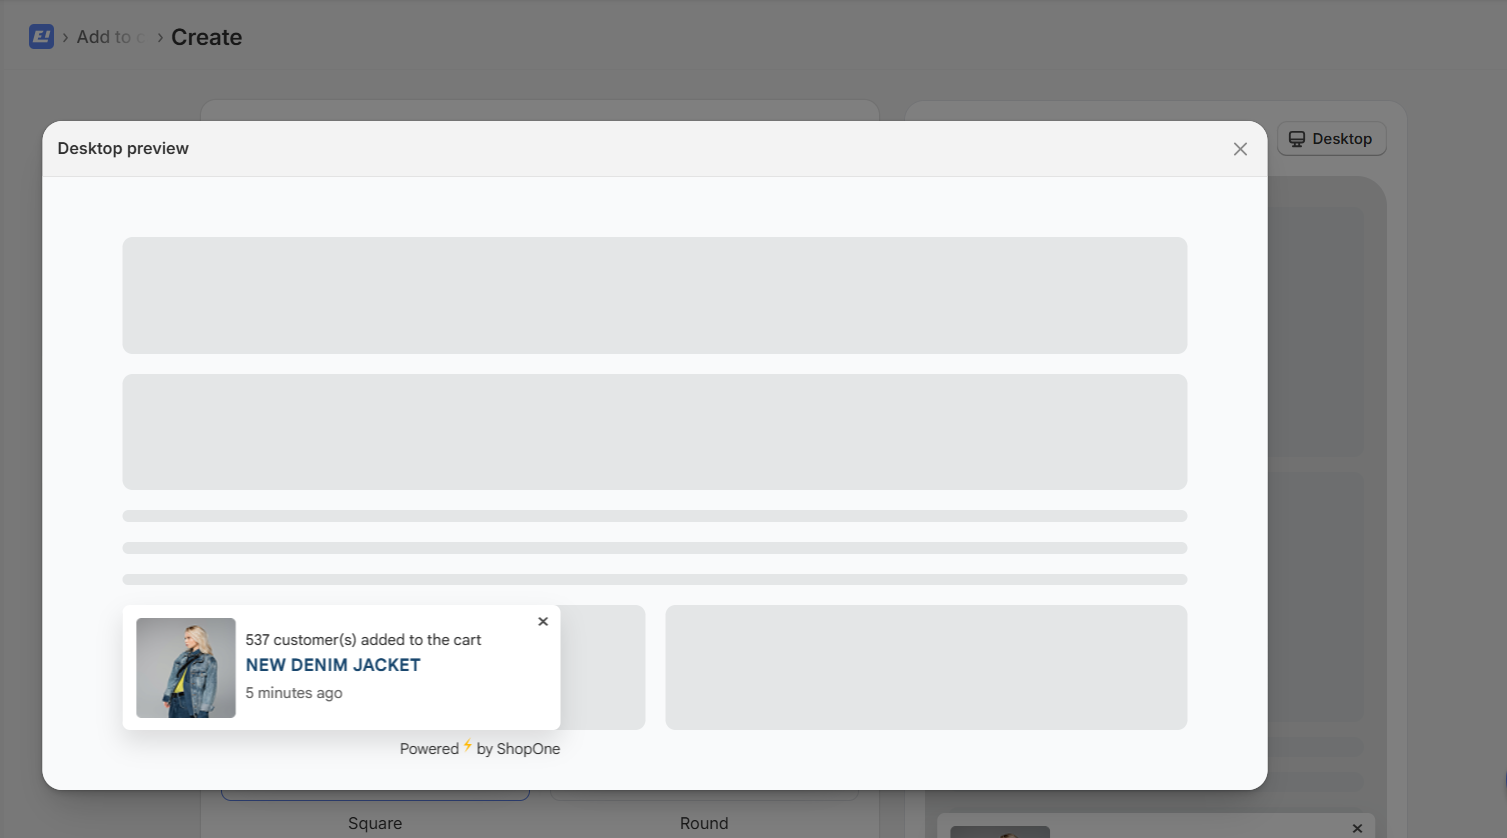
3. Customize Layout and Design
Choose the visual style of your popup:
Square: Clean and modern layout
Round: Softer and more friendly design
Other combinations: Mix between rounded avatar and container styles
Select the layout that best matches your store design.
4. Configure Settings
You can adjust how the popup behaves:
Add underline when hovering product name (desktop only)
Hide heading text
Hide close button
Hide time ago
Hide brand “Powered by ShopOne”
Recommendation:
Keep key elements like heading and time visible to maintain trust and clarity.
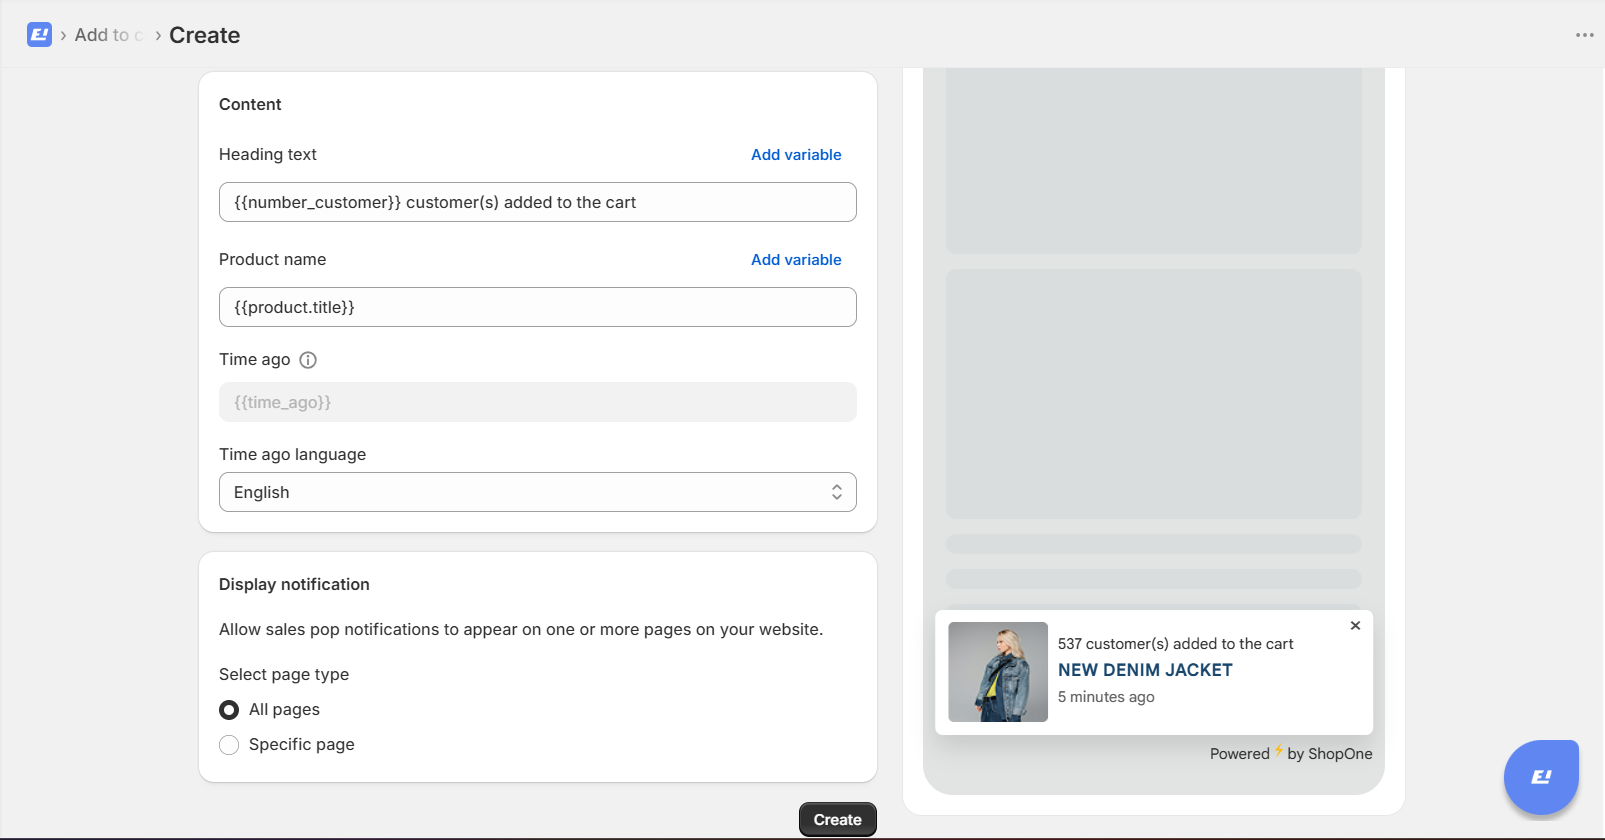
5. Customize Content
Define what customers will see in the notification.
Heading text
Example:
{{number_customer}} customer(s) added to the cart
This variable dynamically shows how many customers added the product.
Product name
{{product.title}}
This automatically displays the product name.
Time ago
{{time_ago}}
This shows how recent the activity is (e.g. 5 minutes ago).
Time ago language
Select your preferred language (e.g. English)
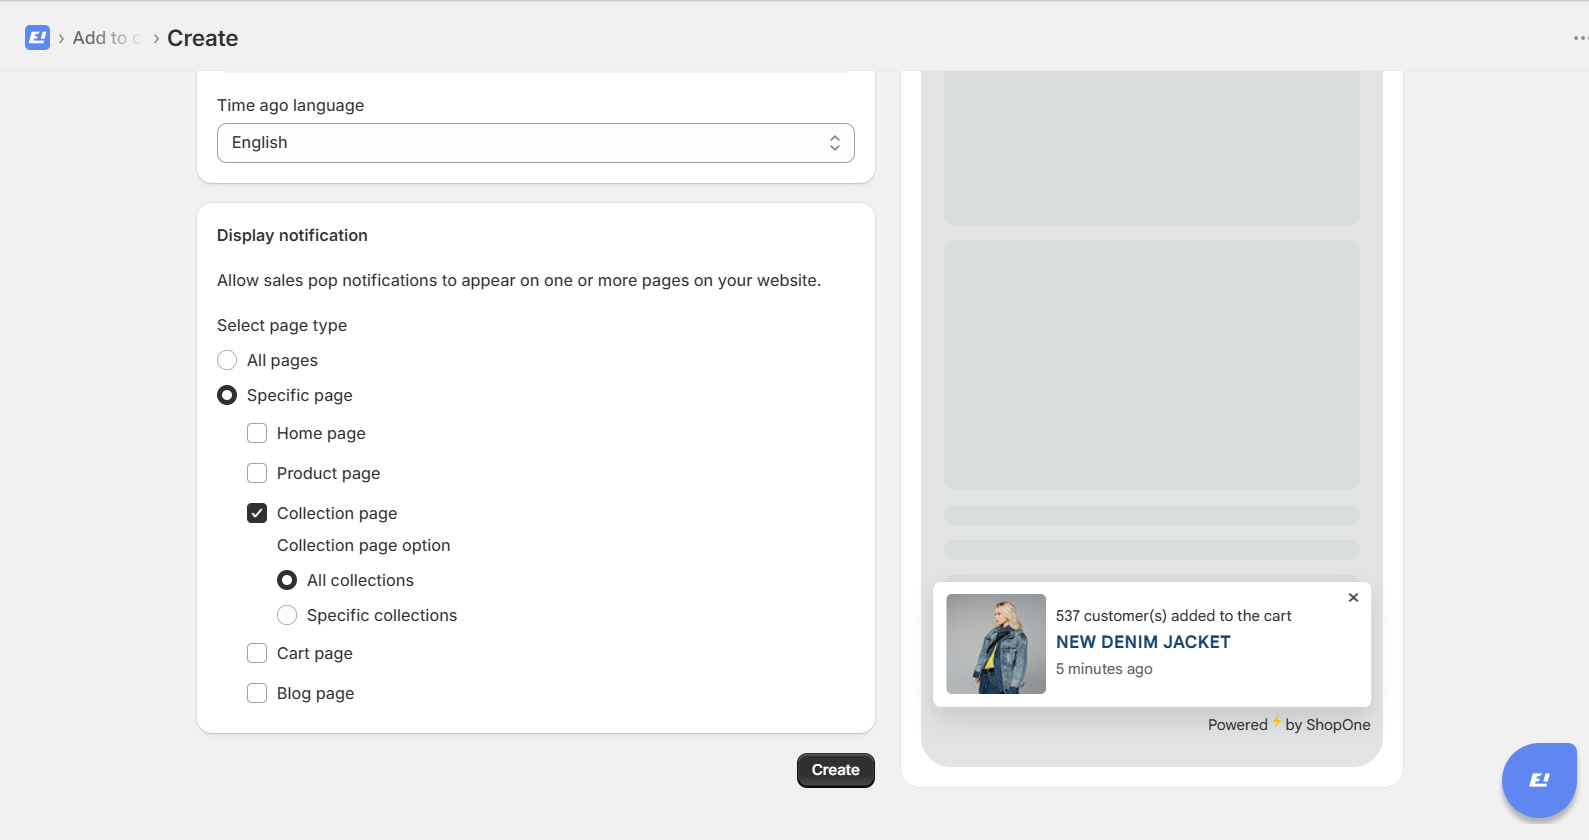
6. Display Notification Settings
Choose where the popup will appear on your website.
Options include:
All pages
Specific pages:
Home page
Product page
Collection page
Cart page
Blog page
Recommendation: Enable on Product page and Home page for best performance.
7. Launch Campaign
Click “Create” to activate the campaign
The popup will start displaying based on your configuration
Best Practices
Keep notifications realistic and not too frequent
Use clear and simple messaging
Combine with urgency elements like countdown timers or stock alerts
Monitor performance and adjust settings if needed
Thanks for reading! If you have any questions, please contact us via email: support@shopone.io
Was this article helpful?
That’s Great!
Thank you for your feedback
Sorry! We couldn't be helpful
Thank you for your feedback
Feedback sent
We appreciate your effort and will try to fix the article